Steps to install chat on Joomla 3.6
- Step 1: Download iFlyChat package from here - https://iflychat.com/downloads/joomla-3/pkg_iflychat_2.0.3.zip.
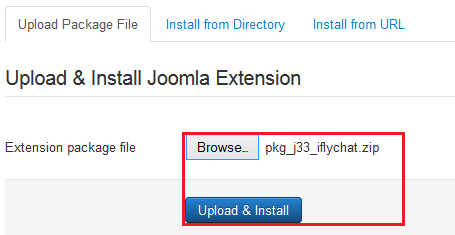
- Step 2: Go to Extension Manager within Administration section.

- Step 3: Next, upload the package zip file and install it.

- Step 4: Generate API Key in order to use our servers securely with your website. Go to https://iflychat.com/user/register
- Step 5: Go to Dashboard and Generate a new API Key for your domain name.


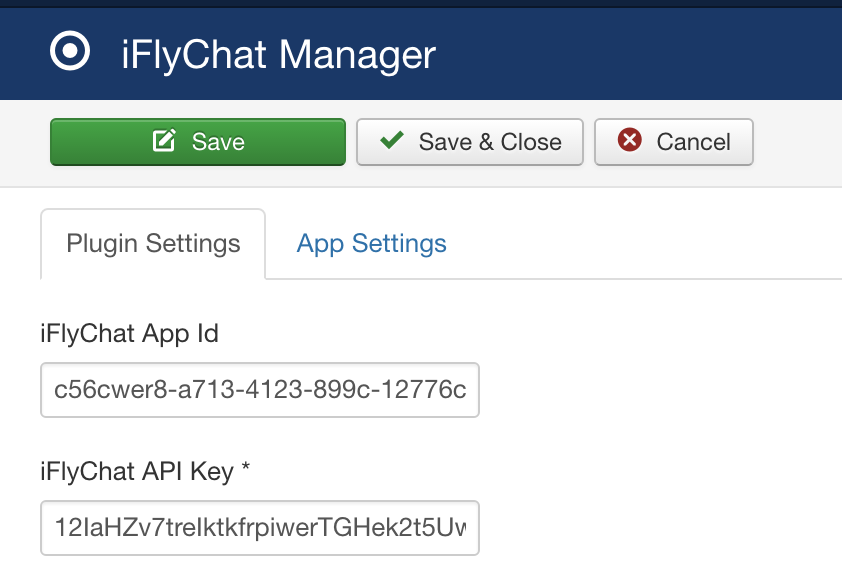
- Step 6: Copy the newly generated APP ID and API key.

- Step 7: Navigate back to your Joomla Administration page. Go to Component -> iFlyChat.
.png)
- Step 8: Paste the App ID and API key as shown below and then click on Save & Close.

- Step 9: Go to Module Manager.

- Step 10: Open iFlyChat module from the list.

-
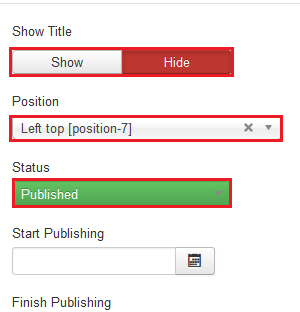
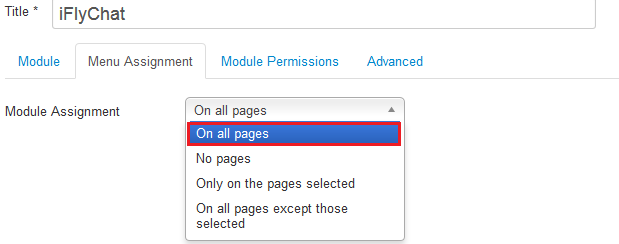
Step 11: Change the following settings (shown below):
- Show Title - Hide
- Position - Select an appropriate position (like footer - positon-7)
- Status - Published
- Module Assignment - On all pages


- Step 12: Click on Save & Close. That's it! You are good to go.

- Optional: To Embed Chatroom in a Joomla page, click here.
